Thursday, October 31, 2013

perfect witchy parfait


happy halloween!
i have lots of fond memories as a kid creating the perfect halloween costume using items around our house, bobbing for apples at parties, going on hayrides, and running all over the neighborhood trick-or-treating with my brothers.   i'm not so much into the tricks, but i'm absolutely giddy over the treats.....especially when the need for that afternoon-sugar-rush kicks in, because let's face it, without something sweet-to-eat i tend to get a little, well, witchy.  so i've decided to create my own little witch-parfait using all of my favorite childhood halloween candies:  layer one is candy corn!


the next layer is a blast-from-the-past......cow tales, bit-o-honey, and smarties
(but please don't tell my dentist.....)


then on top is the chocolate.  lots and lots of chocolate, in the form of mini snickers, kit-kat bars, and junior mints.  this is a critical step, and it really can't be overdone.  smooshing the chocolate in the glass is necessary as it creates more room for more chocolate, and any overflow/spillage of chocolate during this step should be eaten immediately.


lastly, i've added a personalized sweet message with a subtle witchy warning:
have broom, will travel.....to hunt anyone down who even thinks about devouring my parfait, especially during that critical afternoon-sugar-rush time slot.  heeheehee


happy halloween, boo-tiful bloggy sweeties!!  xox


{parfait supplies:  tall glass, assorted favorite candies, lots and lots of chocolate.
broom tag:  scrapbook paper, "broom riders" stamp setblack ink pad, foam dots, popsicle stick, orange stamp pad}


Monday, October 28, 2013

inspiration monday


i have long believed that the best way to find inspiration is to spend some time with other artists....and this past saturday i had the honor of sharing some creative cursive with 13 extremely talented, sweet little birds in manhattan, new york!


we talked about our abc's......


and practiced, practiced, practiced.


 then we got out our favorite supplies and added our own personal touch......


and we even gathered lots of ideas and created some dreamy artwork!


but most of all, we spent the day as only artists can do.....by sharing some laughter, lots of encouragement, and a little bit of chocolate with each other.
thank you, precious little art birdies, for a fabulous day!
i loved meeting each one of you.....you truly rock the casbah,
and i wish i could tell you how much you taught me!


and to my beautiful kindred art buddy michele, who puts her loving heart and soul into providing inspiration for others through her little bird studio.....well, as the saying goes, you better put on your sunglasses 'cause your future is looking mighty bright, girlie!  you are so very appreciated, and i thank you SO much for inviting me to your fabulous studio!  xox


Thursday, October 24, 2013

little bird in the big apple


i'm busy packing my supplies and trying to get organized
because i'm headed to little bird creations in new york city to 
teach my creative cursive workshop  this weekend!  woo hoo!!  
i've got lots of information all printed out.....


and tucked into folders for everyone.


and my art apron, name tag, and all the other "important stuff" is ready to be packed....
 guess which one goes into the suitcase first!  :))

hope you have a terrific weekend!
xox


Monday, October 21, 2013

inspiration monday


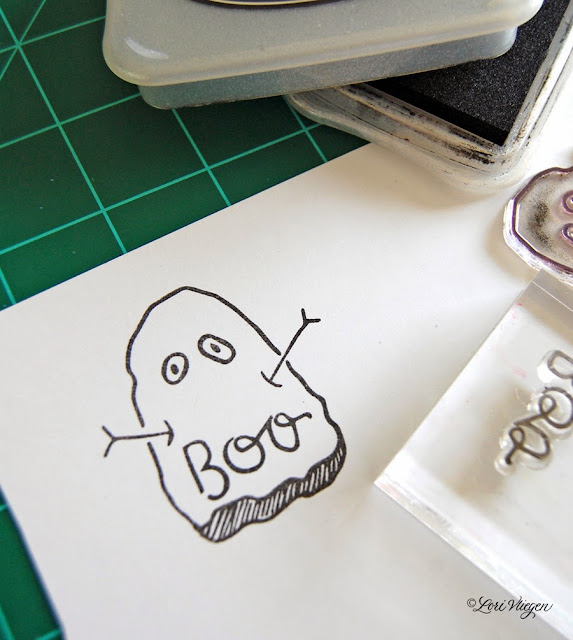
halloween is right around the corner, and i've been dreaming about my favorite part.....the chocolate  candy!  but the mere mention of it makes my jeans a little tighter, so here's a hip friendly "sugar" project using a mini white pumpkin, glue, strong double-sided tape, rubber stamps, card stock, and some extra fine glitter.


first, put a line of glue in the creases of the pumpkin and shake a generous amount of extra fine white glitter until the glue is completely covered. (you can also use glitter glue, but getting glitter everywhere is half the fun!)


make sure this is done over a piece of paper so the excess glitter can be placed back in the container and used again.


while the glue/glitter is drying on the pumpkin, stamp a fun image onto cardstock.


now place double-sided tape onto the stamped image.
(i used wonder tape, but it wasn't wide enough, so i placed two pieces next to each other)


cut out the image.
(using non-stick scissors makes this a lot easier!)


remove the protective covering from the tape, and sprinkle the white glitter over the image until the entire surface is covered.  shake off the excess.


now the image looks sugar-coated!  use a small punch to make a hole at the top, and place some twine through the opening.


now tie your sugar-tag onto your glitter pumpkin,
and you have a subtle, but very hip-friendly-and-sparkly-sweet decoration for halloween!


{supplies:  mini white pumpkin, glue, extra-fine white/clear glitter, white cardstock, hole punch,"boo" stamps by technique tuesday, black stamp pad, wonder tape, non-stick scissors, twine}


Thursday, October 17, 2013

tiny blessing


i have a new friend....
he is pure miracle and blessing wrapped up
in a tiny, perfect, precious little package named gunner.

congratulations and many hugs to his loving parents, jim and hildy!
the world is a much sweeter place today.  xox


{supplies:  fabriano medioevalis paper, derwent inktense pencils,
micron pens, 4B graphite pencil}


Monday, October 14, 2013

inspiration monday


  one of my favorite places to find inspiration is in my craft stash.....and there's nothing more fun than to revisit a past project i'm absolutely batty over, and change it up a bit!
here's a fang-tastic way to give these playful little alpha-bats a make-over: 


for each bat, you'll need a 2.5" papier mache egg found in the craft store, some acrylic craft paint,  this bat template from martha stewart ,  cardstock, paint pens or markers, and craft wire.


give each egg a coat of black acrylic paint.
you can also add some color by dry-brushing more acrylic paint over the dried black paint.


once the paint has dried, add a goofy little bat-face using paint markers.
(i've used permapaque markers)


create little bat-legs and feet by cutting a small piece of craft wire and twist one end into a circle using some round-nose pliers.  punch small holes in the bottom of the bat-body using an awl and tuck the other end of the wire in the opening.  secure wire by adding a drop of glue, diamond glaze, or other dimensional adhesive at the opening of the hole.


cut out the bat template and trace onto construction paper, card stock, or patterned paper.
then cut out the bat-wings.

(to create my original alpha-bats, i used black card stock and lettered on the wings using various pens and markers.  for this updated project, i've photocopied my original alpha-bats and cut out the wings.)  


now fold back a small tab at the inside edge of the bat-wing and glue it to the bat-body......


and let your finished boo-crew hang out in your studio.....


or let them loose and see where they end up!!
(i found my silly little bat-buddies lurking in my front door wreath!)


you can read about my original alpha-bats here!


{this project went from spook to spooktacular using these supplies: 
photocopies of alpha-bats , acrylic craft paint, permapaque markers, black craft wire, 
2.5" papier mache eggs, diamond glaze, tombow mono multi glue, martha stewart template}


Thursday, October 10, 2013

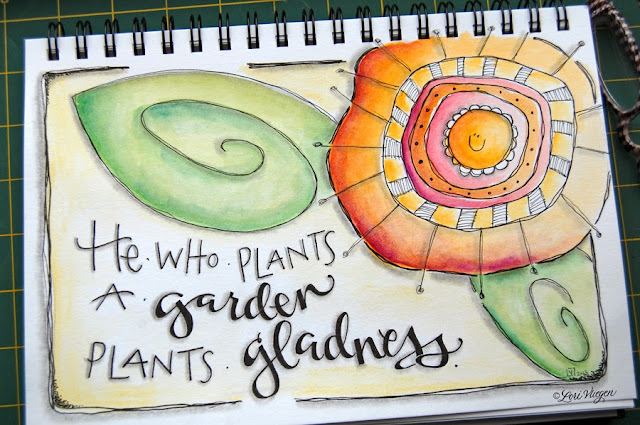
garden of gladness


plant a little seed of happiness, 


and give it lots of tender loving care,


and before you know it, you'll have a gladness garden of
feel-good-from-your-head-to-your-tippy-toes-flowers everywhere!
xox


{supplies:  stillman&birn beta series journal, koi watercolor, micron pens,
derwent watercolor pencils, 6B graphite pencil}


Monday, October 7, 2013

inspiration monday


i recently learned something really amazing about creativity.


it seems that just when you think you're going to completely run out of it.....


you discover it's a fountain that never runs dry....
as long as you use it as much as possible!


and what makes it so very poetic....


is inspiration will always be right there to make sure you do!


{supplies:  moleskine journal, derwent watercolor/inktense pencils,
pitt artist pens, 4B and 8B graphite pencils}


Thursday, October 3, 2013

believe in yourself


simply put, beautifully true.....
always believe in yourself.  always!  
xox


Related Posts Plugin for WordPress, Blogger...